As I research original sources from the 19th century, I find myself curious about little tidbits I might find. If I see an advertisement or a letter with an address, I will hop over to Google Maps and look it up. Bonus if there's a street view! Here's a recent example:

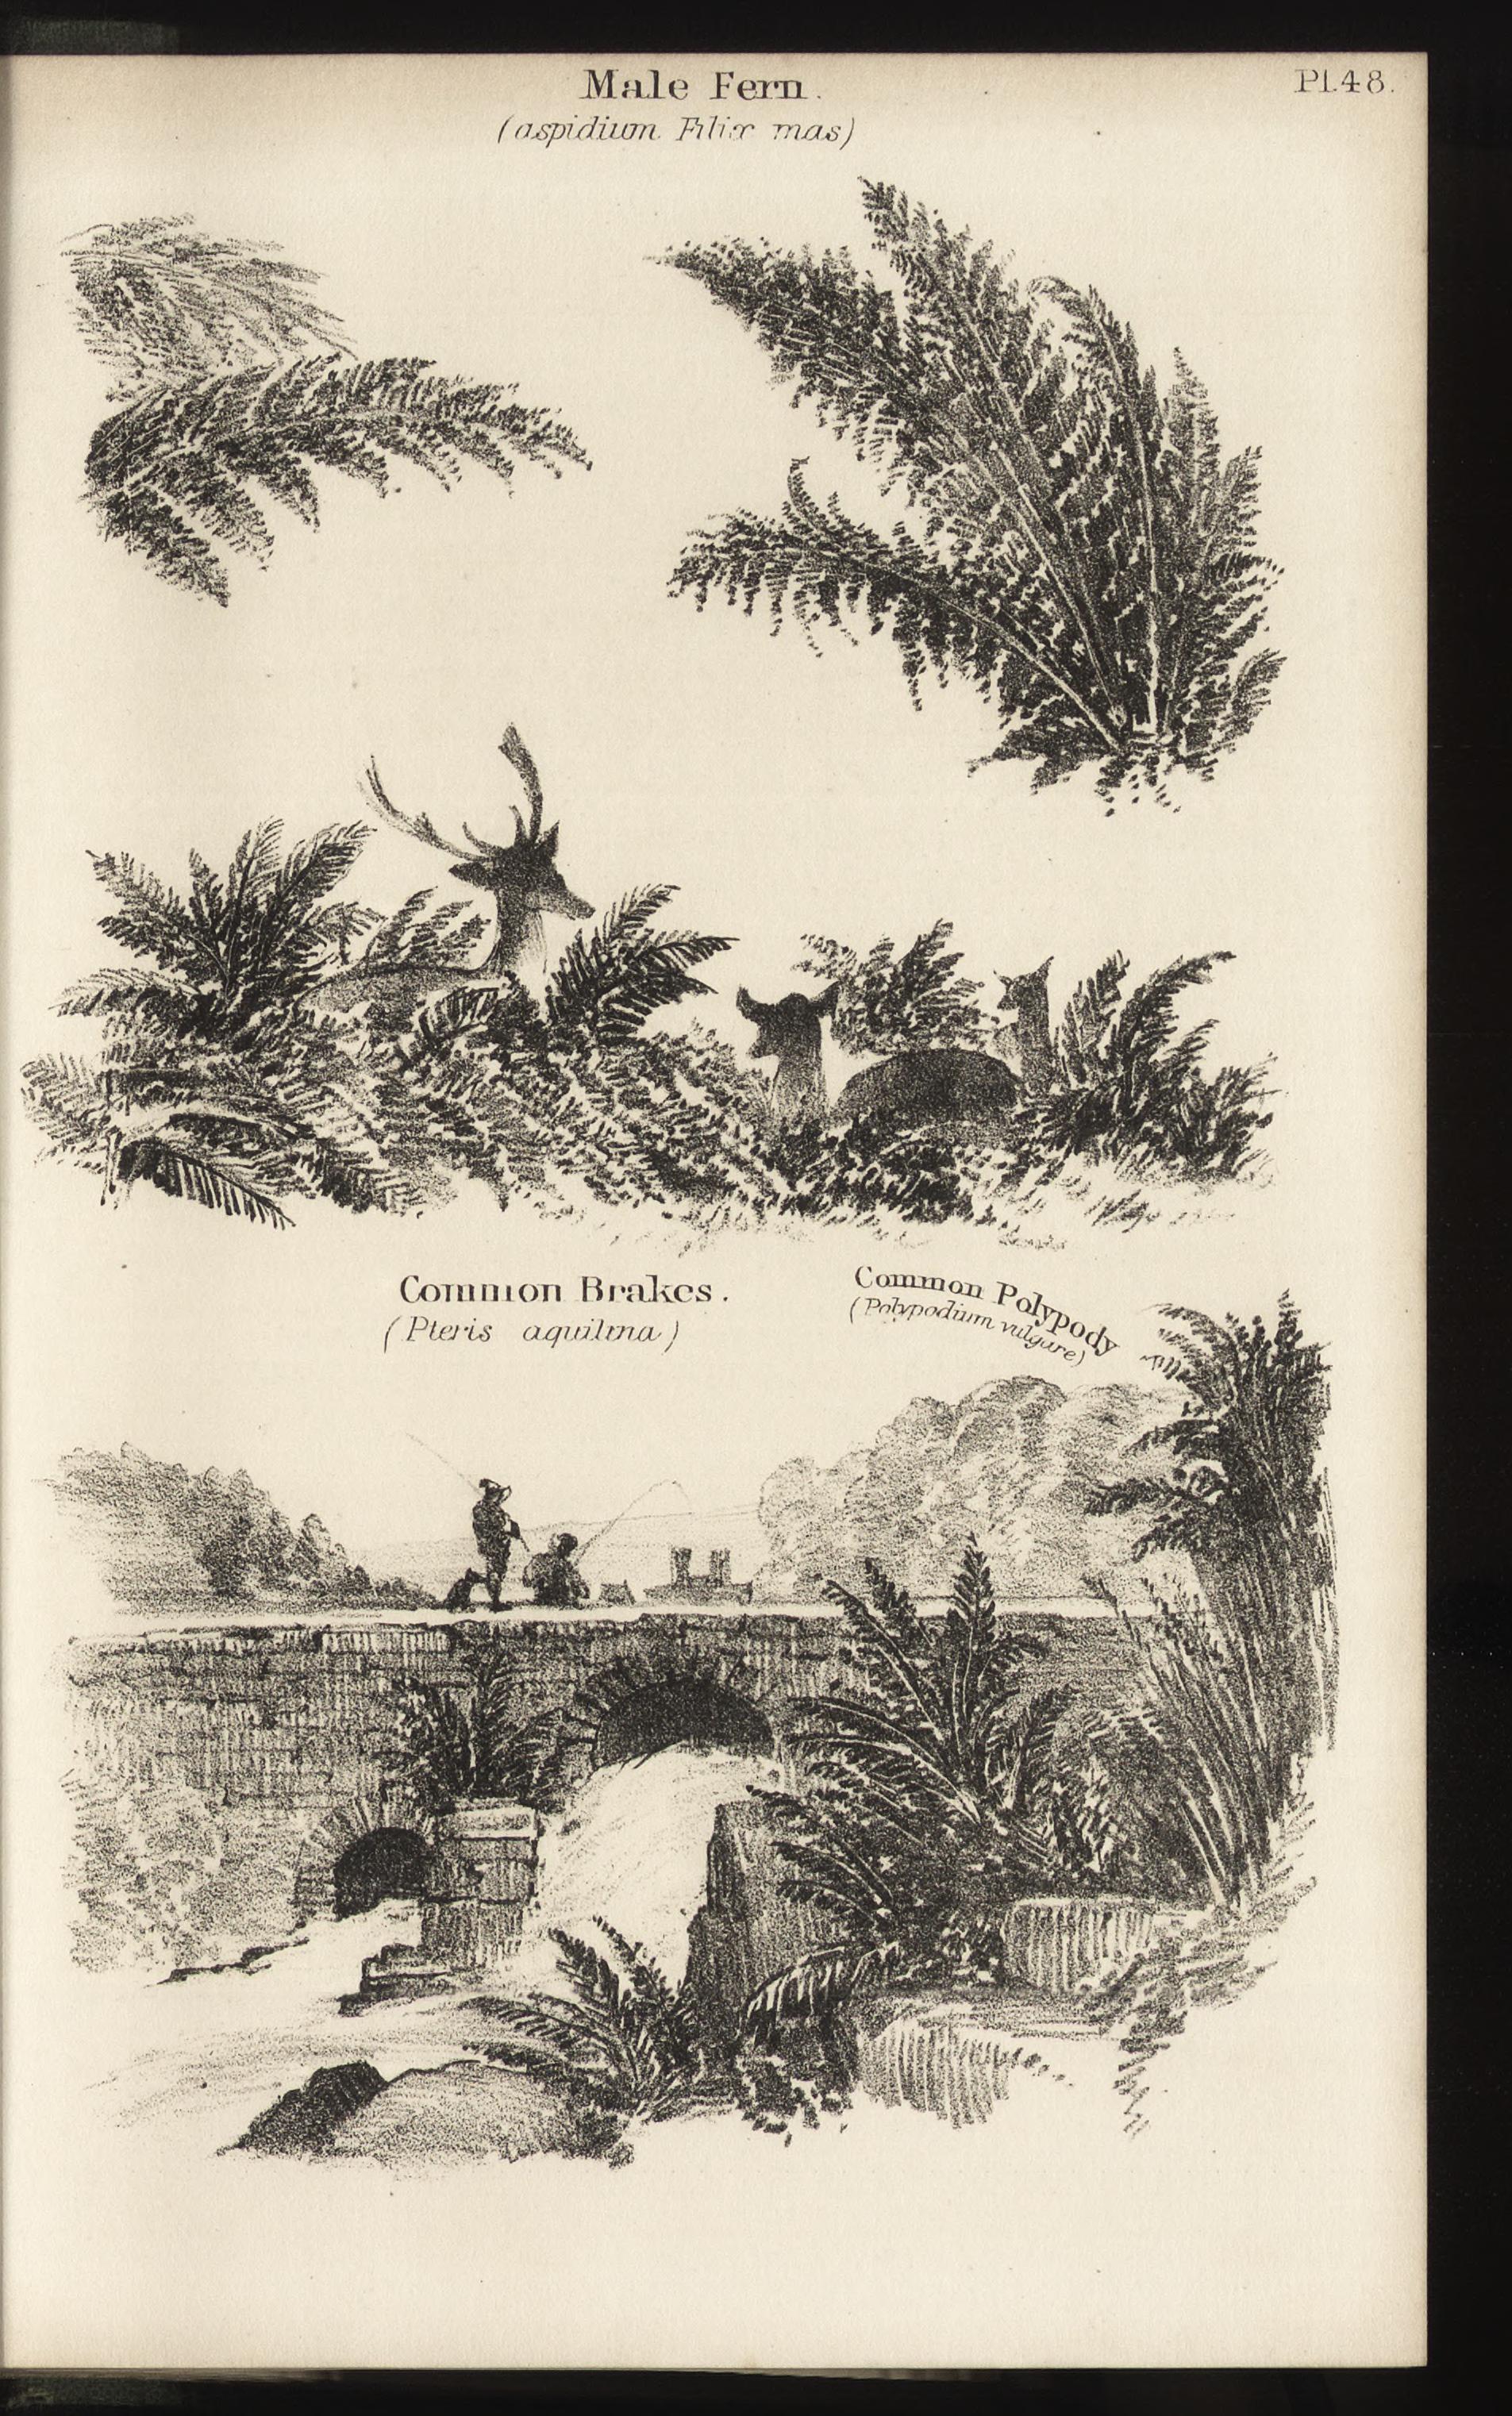
Note the ferns on the cover!

And, this got my attention; a name and address!

Ethel Kershaw, Radcliff House, Pudsey
Who was she? Lookit! I found her in a 1911 census!
Ethel May Kershaw, only daughter of Hugh, 50 & Eleanor Mary, 42. They've been married 17 years. Hugh is a "medical practitioner." Who else is living in the house?
The Hyland family:
Samuel, aged 70, retired cashier & Eleanor, aged 59; married 31 years
Only son/ child, Frederick Hunter Hyland, aged 19 and in medical school.
Servants:
Annie Dales, 58, general domestic servant. Single.
Marie Roze Buxton, 19, the cook. Single.
Boarder:
Charles Suffield Brown, 24, medical student. Single.
What can we surmise about this household?
They only had 2 servants, so they were not regarded as wealthy. They have two young men who are medical students, which leads me to believe that Dr. Kershaw was a teacher at the local school or a mentor of sorts.
What about the relationships of the Hylands and Kershaws?
It's possible that Eleanor Hyland & Eleanor Mary Kershaw were sisters. It seems strange to us that they would have the same first name, but this was common practice to name daughters after their mothers. E.g. Marie Antoinette's sisters were all Maria Something. They were then called by their middle names or a nickname by their families. Just the name Elizabeth could become Lizzie, Eliza, Bess, Beth, etc. etc. allowing for all the daughters to be named after their mother Elizabeth.
Back to Ethel, who started this whole thing! What can we gather about this young girl? Either she was interested in drawing or this was a textbook. It was published in 1878.
There are questions in the back which suggests this was a class she took or a book someone lent her because she had an interest in drawing:

But what about Radcliffe House in Pudsey? Was it a grand estate? Is it still there? I searched for Radcliffe House, Pudsey, England on Google Maps. YES! It's still there. And . . . it's a mental healthcare facility now. You'll be able to see some disappointing photos of the exterior and interior of the house. The current decor has wiped out original architectural features and the character the house would have had originally.
If you click on Street View (Upper left corner of the screen) you're facing a row of back yards. What pretty gardens everyone has! Turn around clockwise, and you'll get a view of the side of Radcliffe House. Those trees (or shrubs?) must be very old. In front of the hedge are rocks all along the lane, which could have once been a garden wall.
Keep going clock wise and follow the lane of Radcliffe Gardens and you'll see a sign for the house. There's no really good view of the whole house from Google Maps. Here's a view from Radcliffe Lane. It's a fun little jaunt around the block, tho.
Further research :
*History of Radcliffe House
*Old maps of Pudsey
*What exactly was a "retired cashier" in 1911? Accountant?
*What happened to the medical students?
*What happened to Ethel? Did she marry? Have a family? Stay at Radcliffe?
But this is where I need to stop. Seriously. If I were researching family history, or working on a project specifically for this, or getting paid for my infernal curiosity, then I would continue. But I will end it there and leave you with a coupla ferny illustrations: